AUPortal
Table of Contents
Link to AUPortal: https://ioopm.course.it.uu.se
1 Introduction to the AU Portal Software
A normal year, we take close to 2000 oral demonstrations during this course. Every student’s progress needs to be tracked as roughly 50–70 achievements, etc. You can imagine the complexity.
Being technology-oriented people, we naturally come to the conclusion that we need software to help coordinate all of this so that our time can be spent interacting with you rather than with the clerical tasks of tracking your progress. In the pandemic year of 2020, if we can shave of 2-3 minutes for each demonstration on finding the bleeping zoom link, that will not just go a long way towards protecting our sanity, but with 2000 demonstrations (plus help requests!), that’s like having one more TA on the course.
Later in the course, we’ll talk about how this software is built, as a case study in the course. Not because it is the greatest thing, but because it is something you can relate to, and maybe even want to improve to scratch some itch you’ve been having.
At the time the course starts, the AU portal allows you to do the following:
- During labs (technically 24/7) – put a help request in a queue that is being served by TA’s who will connect to you with Zoom and Cloud 9
- Similar to help requests, you can put in a request to demonstrate that you master some of the achivements on the course.
- You can get an overview over what have accomplished, what you have still to do, and if you are on track to finish the course on time.
1.1 Accessing the AU Portal
To access the AU portal, you will need your normal CAS login that you use to access most of UU’s services, like say Studentportalen. Just click on the CAS link.
1.2 First-Time Set-Up
The first time you login to the AU portal, you will be taken through a setup wizard that wants your:
- Profile picture
- Your initial target grade (feel free to leave this at 3 from the start)
- Your Zoom number
Once you are done with that, we also want your Link to GitHub.
The profile picture is used by the teachers on this course in two ways:
- It helps us recall who you are (most people are bad at names but good with faces) when we see your name in the list of requests
- It helps us with legal certainty-aspects of examination: before you are allowed to demonstrate, we will ask you to show us your ID and compare that to your profile picture, so that we can be reasonably certain you are who you claim to be :)
1.2.1 Who can see whose profile picture?
- You can see your own picture, but not those of other students
- You can see the profile picture of all teachers
- All teachers can see the profile pictures of all students
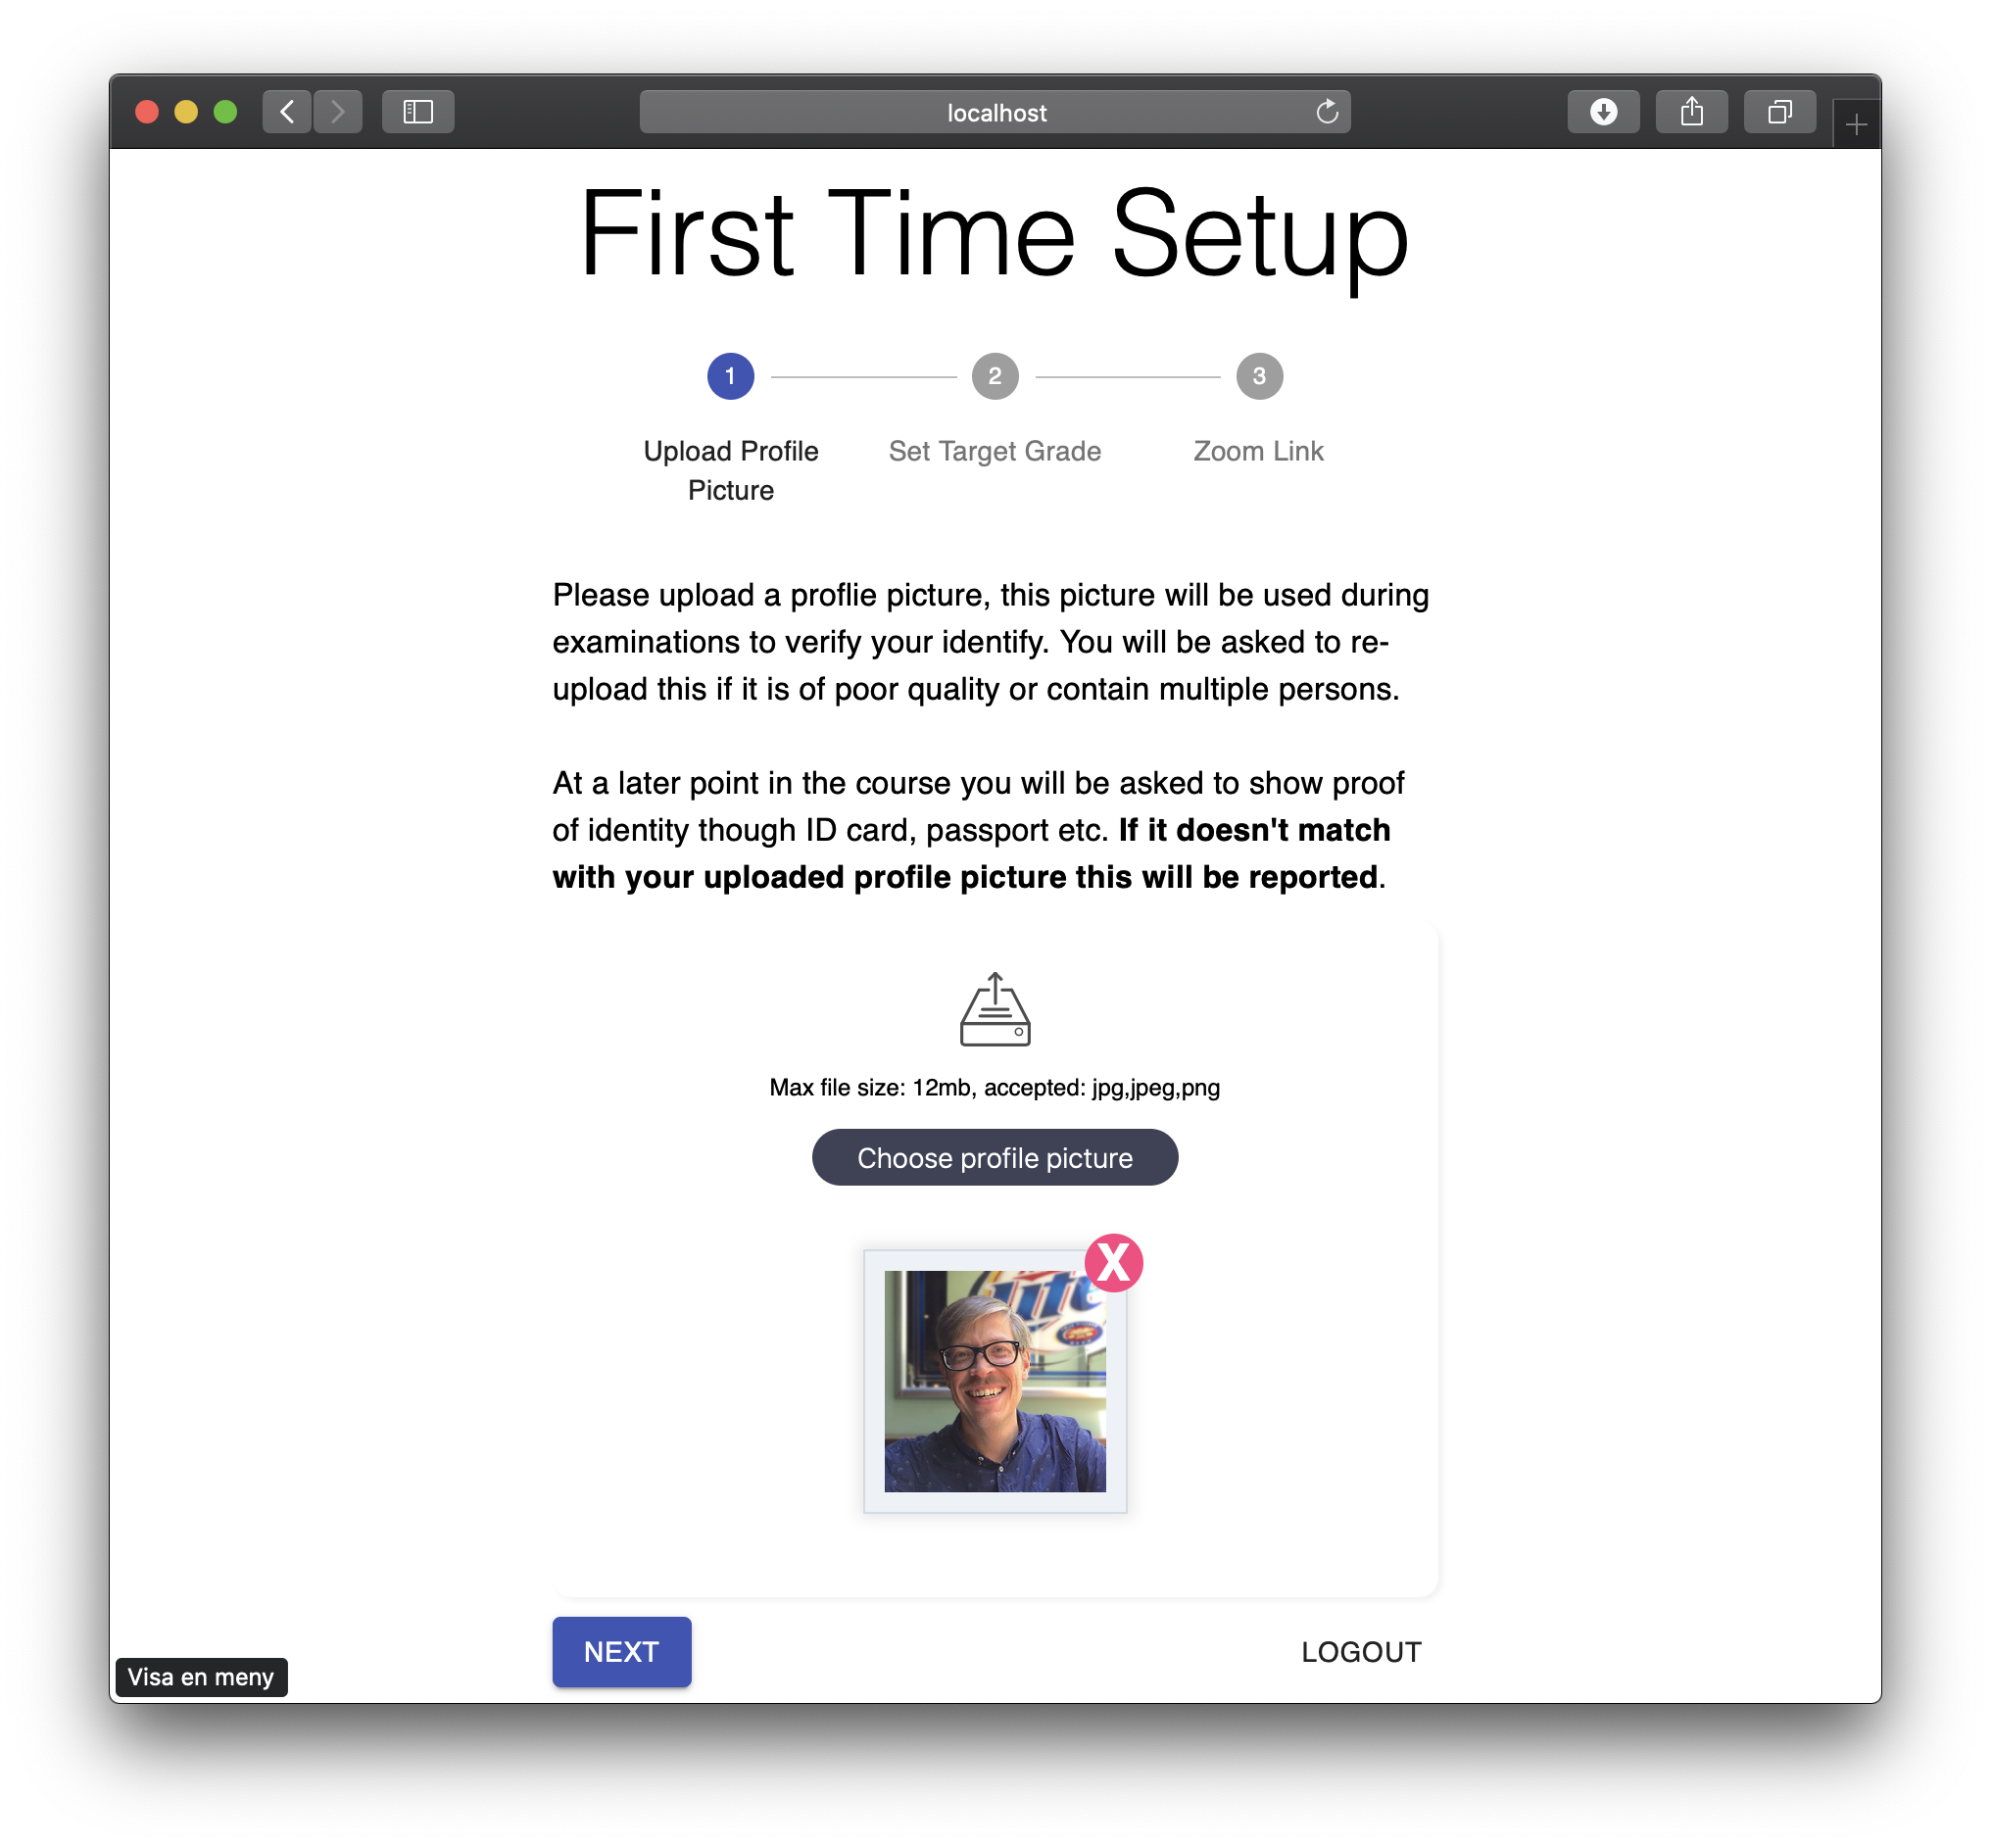
Figure 1: Adding profile picture
1.2.2 Target Grade?
The target grade is the grade you want to show in the burndown chart. It also filters the achievements shown in the TODO list. The number is saved in the database – this is necesary for us to support some filtering and remember your settings between sessions. Teachers do not have access in the system to specific students’ target grades.
You can change this settting as often as you like.
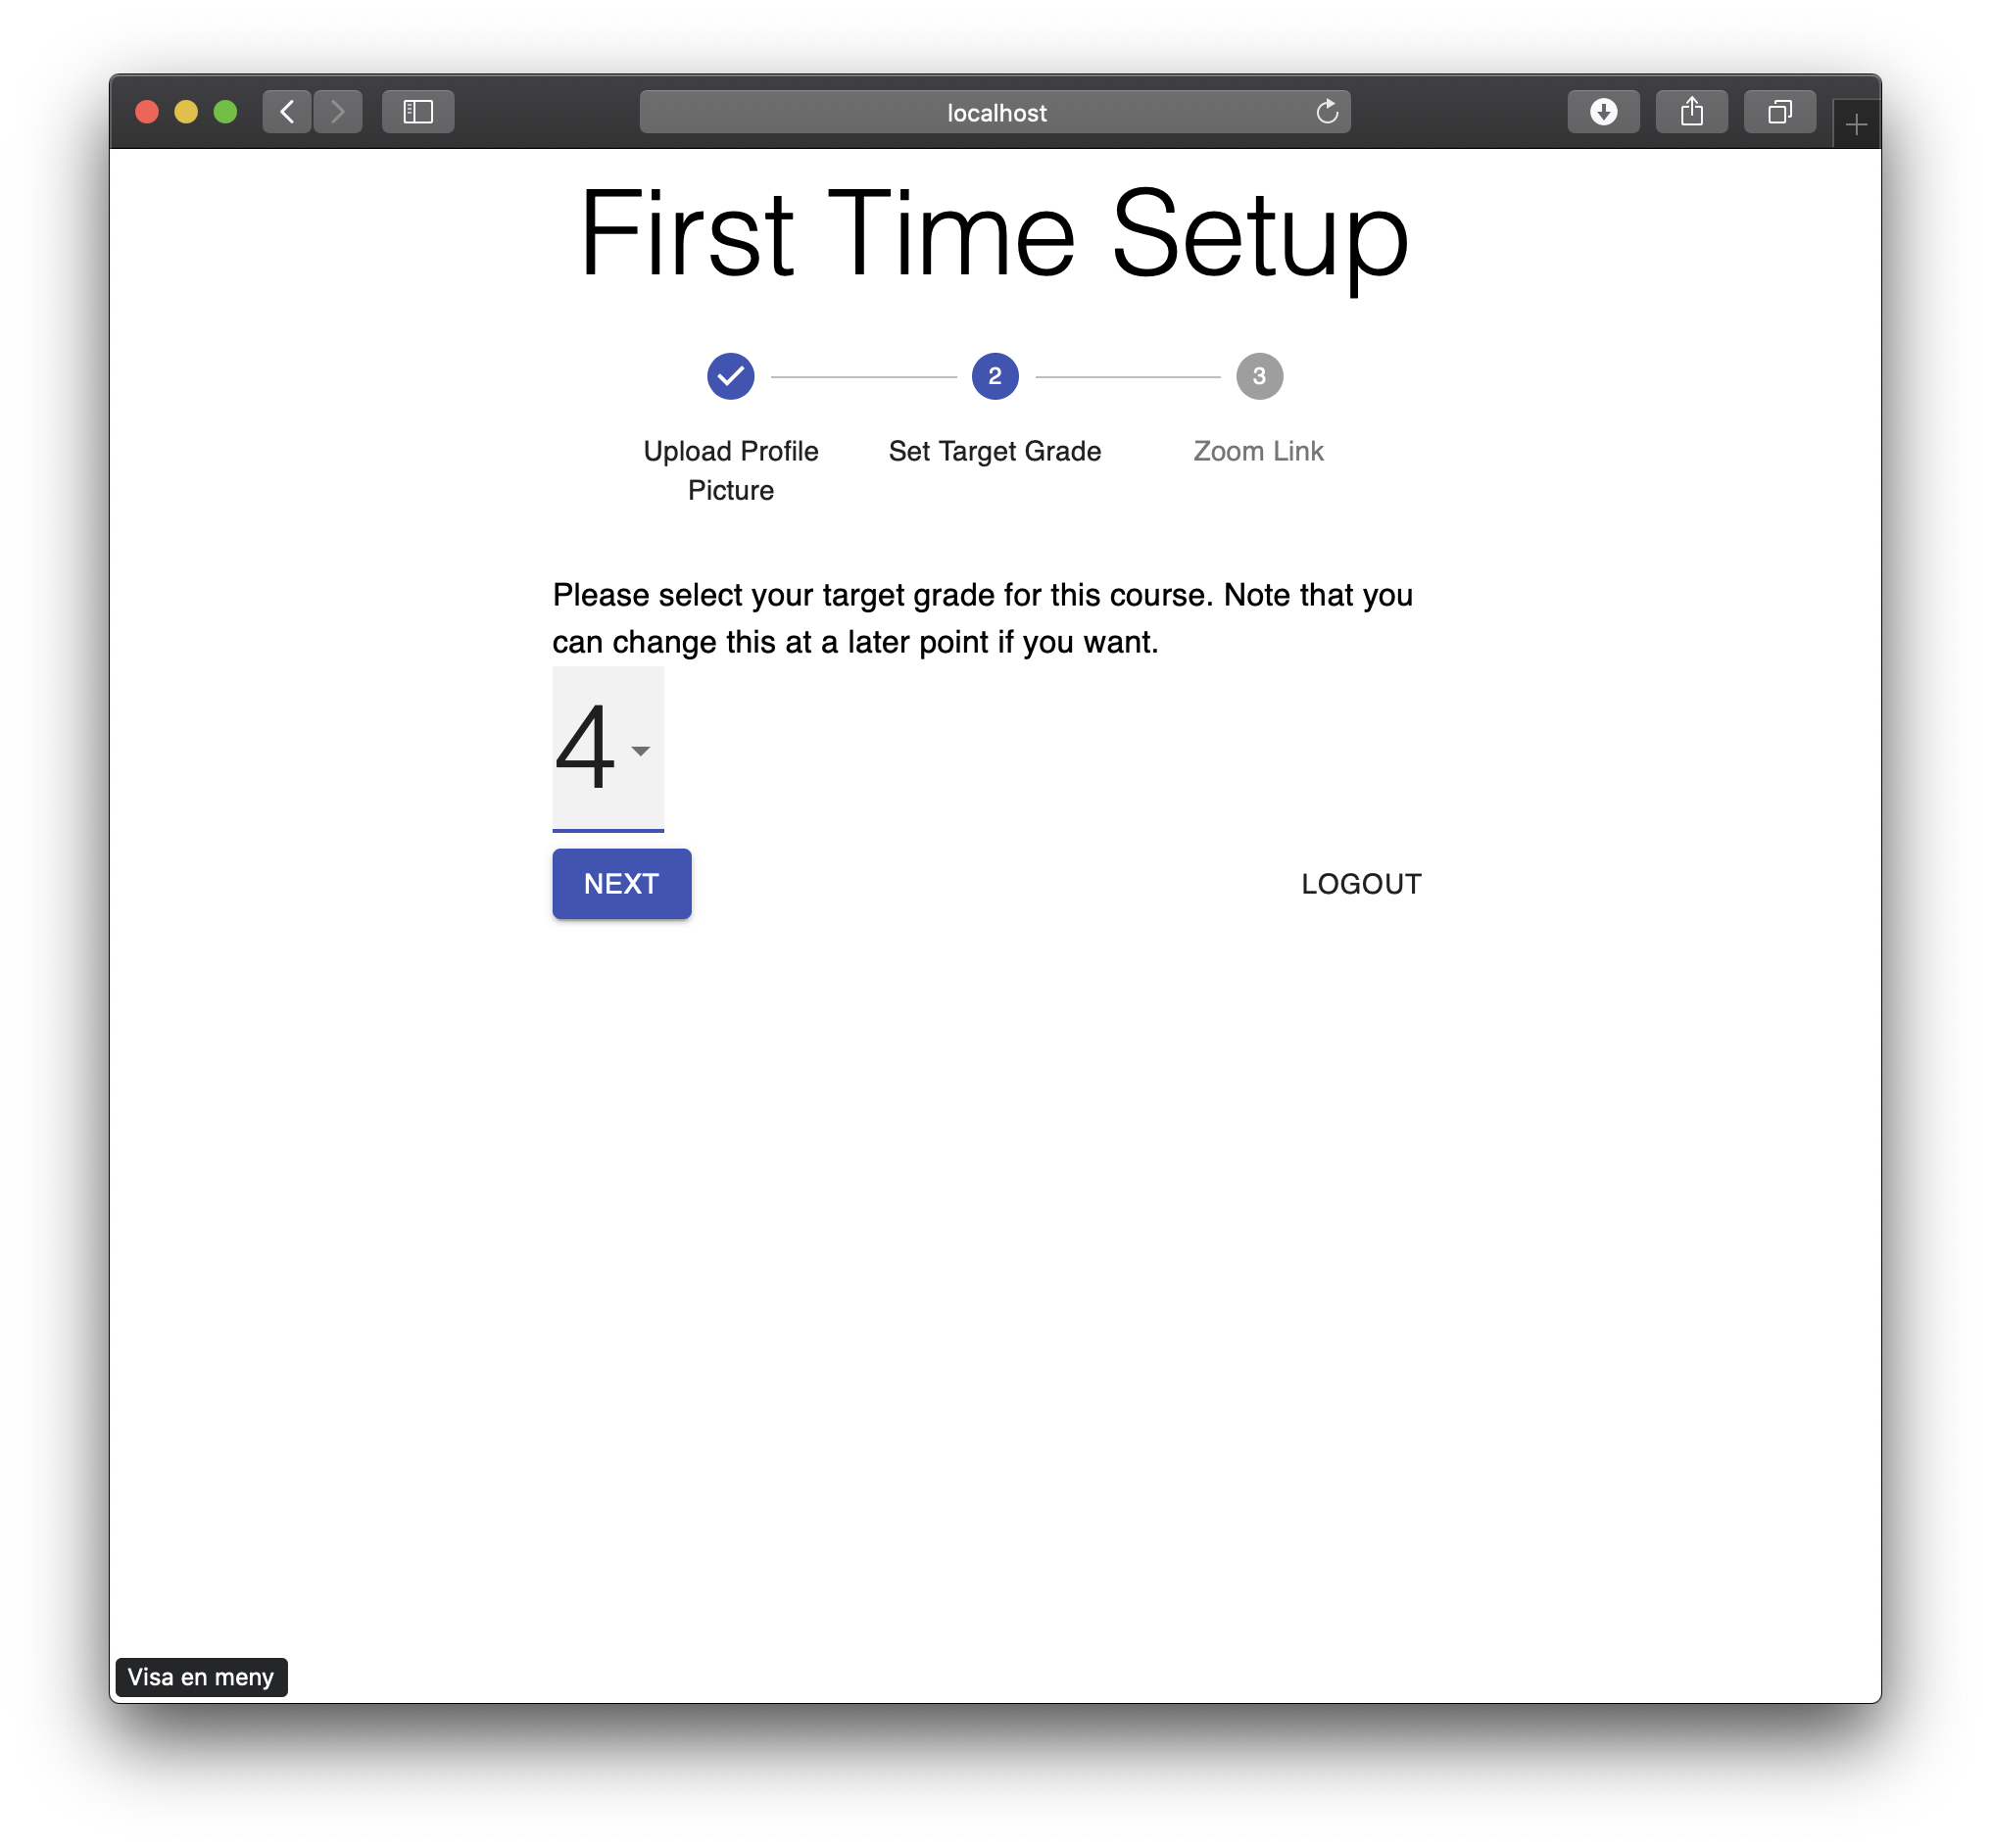
Figure 2: Setting your initial target grade
1.2.3 Enable Notifications
When you load the page for the first time, it will (depending on your browser) ask to be allowed to display notifications. This is of course optional, but we hope you will allow them to reduce the chance of missing that a TA is waiting to help you, etc.
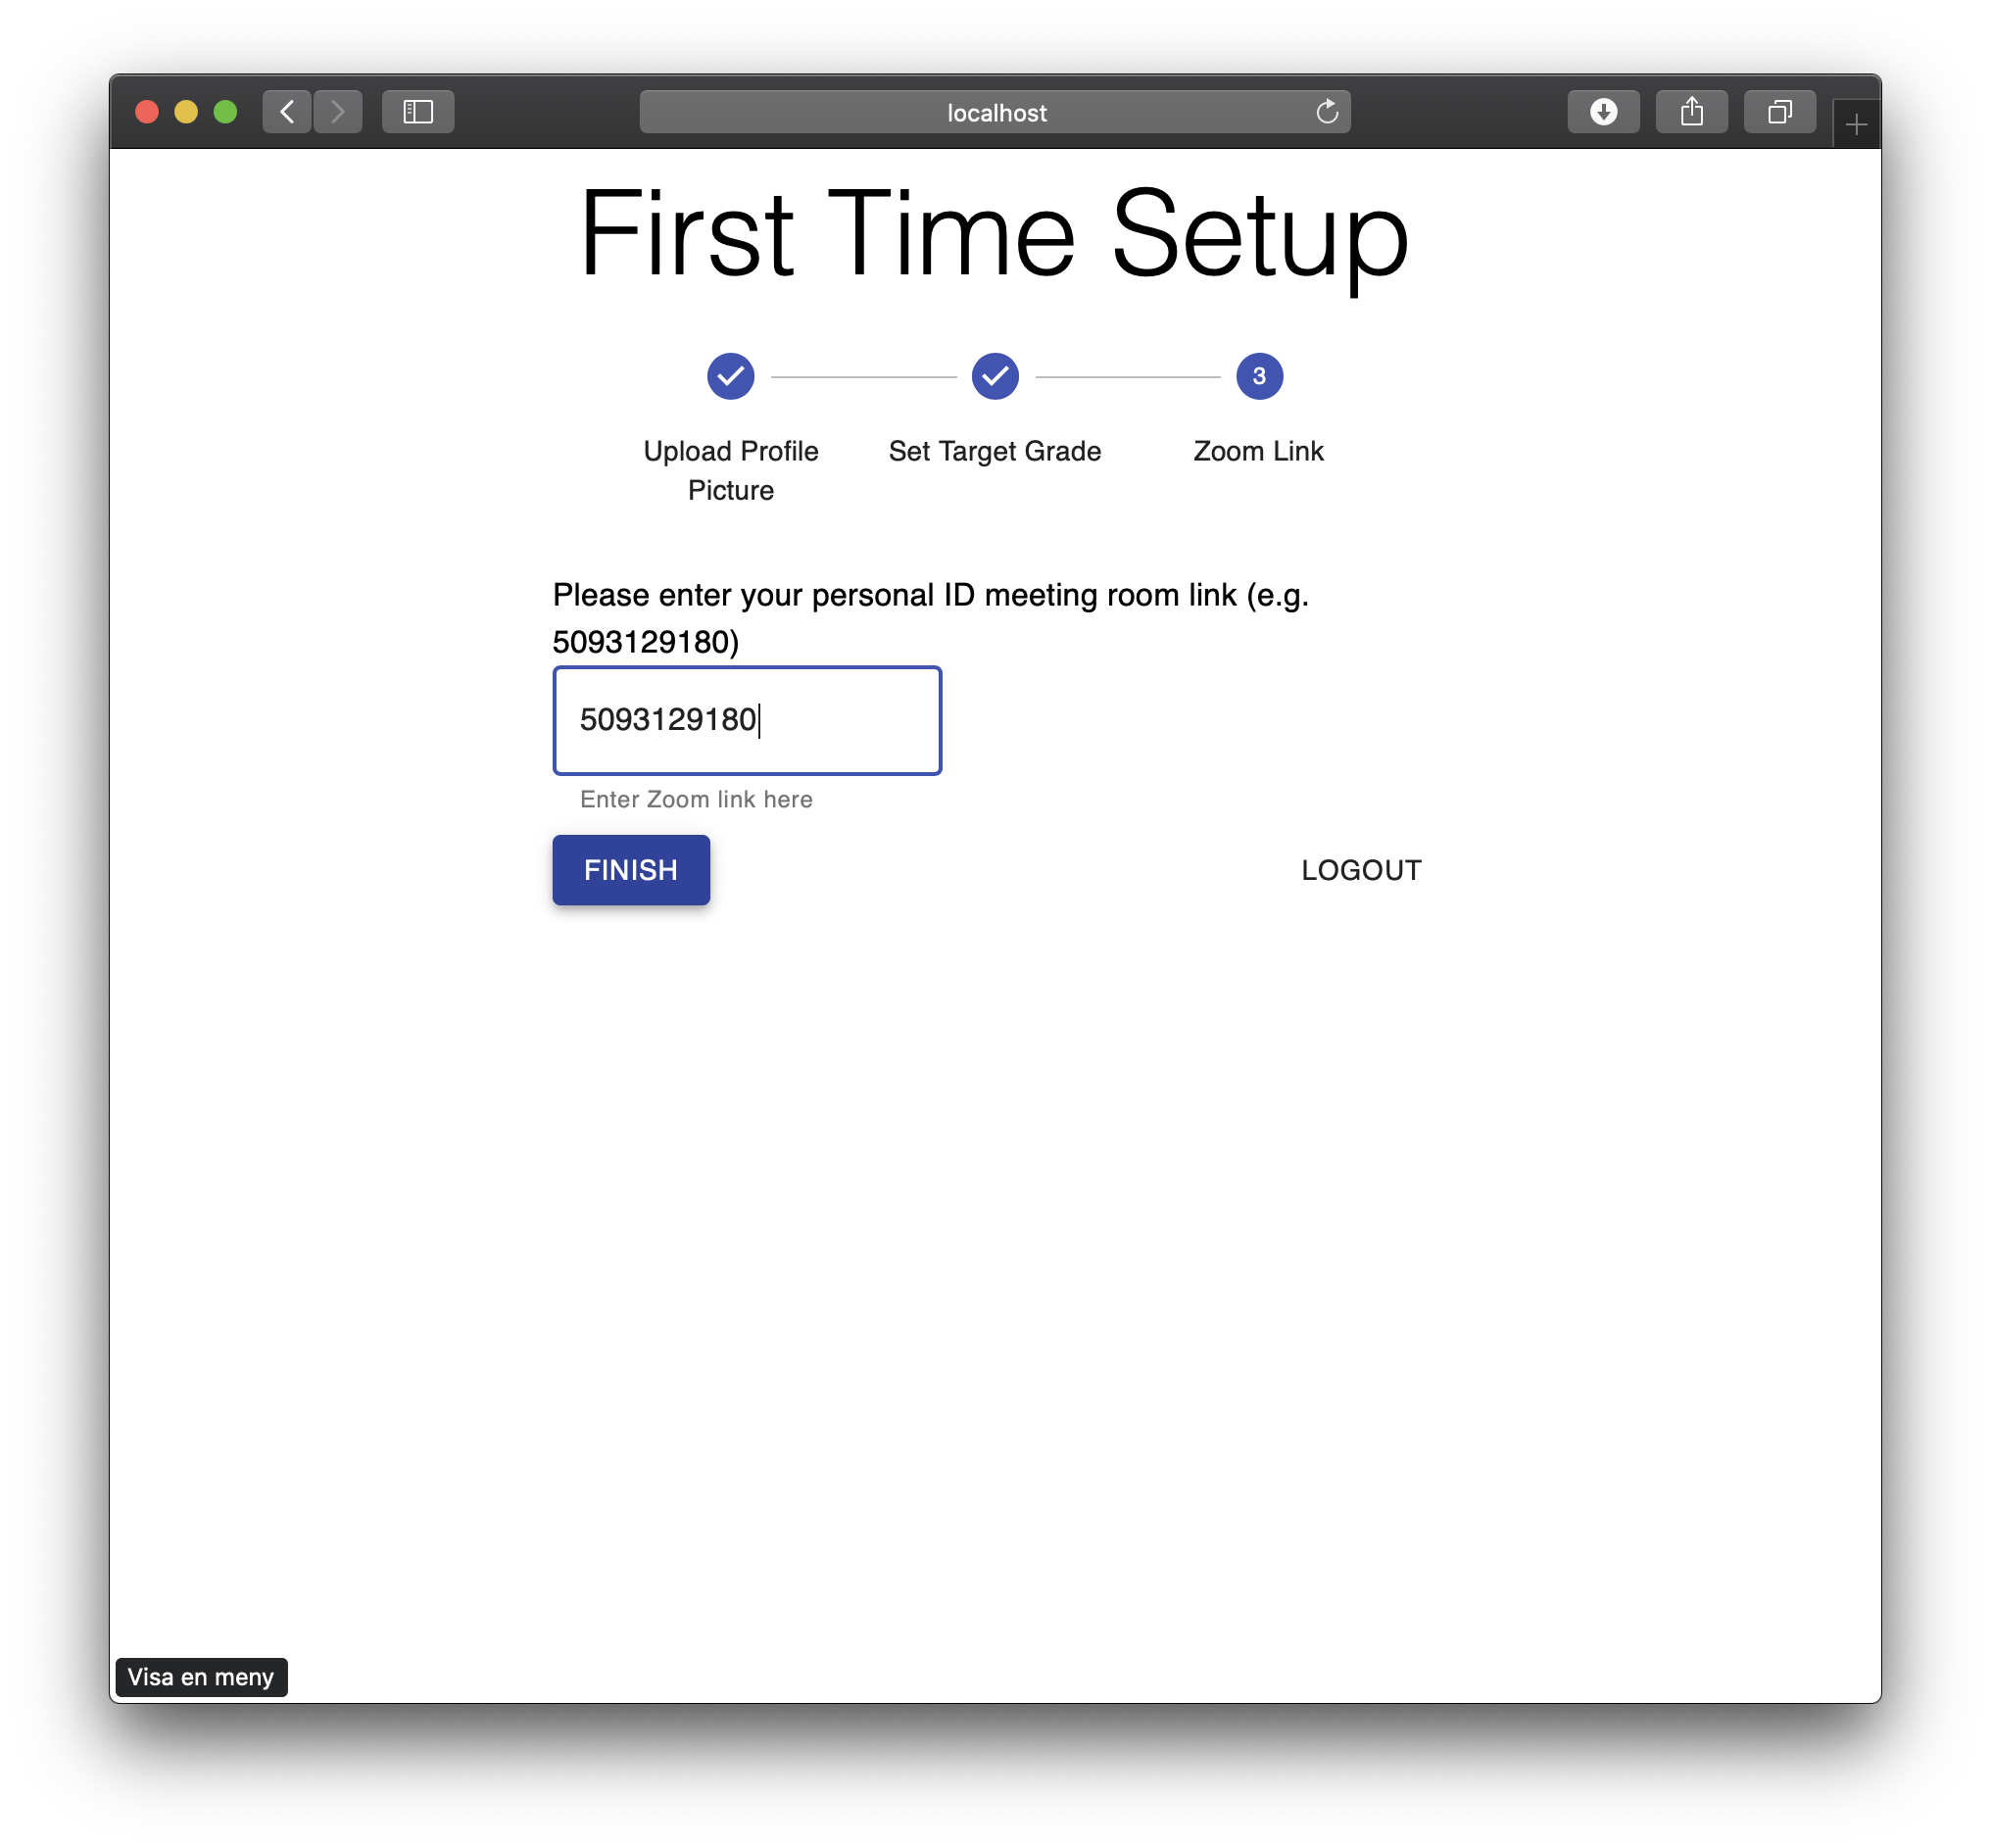
Figure 3: Adding Zoom data
1.3 Requesting Help
To request help, click on the help request button on the side menu to get to the help request page. In the middle, you will see the queue of help request tickets , which are typically being served in FIFO order, modulo circumstances.
When you request help, please list the people who are asking for help together – typically you and your pair programming partner. You are also able to write a short message. This is optional. It may be good for getting the attention of a specific teacher, or put a link to a Piazza thread, or something else.
You will also note there is a Zoom button. This button links to the Zoom room of the person making the request, and it is in the Zoom room of this person that help will be given.
The TAs collaborate on claiming the tickets. When your ticket has been claimed, you will be notified – in the browser if you have opted out of system notification. When you see the notification, we expect you to – if you have not done so already – immediately go into Zoom so that you are there when help arrives.
Because of TA’s being so few (in relative terms), their time is valuable so please help us making sure it does not go to waste!
When you are all done, the TA will click on the done button to remove the ticket from the queue. We take internal measurements of the time it takes from submitting a request to having it claimed and marked done. We use these for our internal quality control.
You can of course cancel a help request if you feel like it. You are not allowed to be listed in more than one help request at a time.
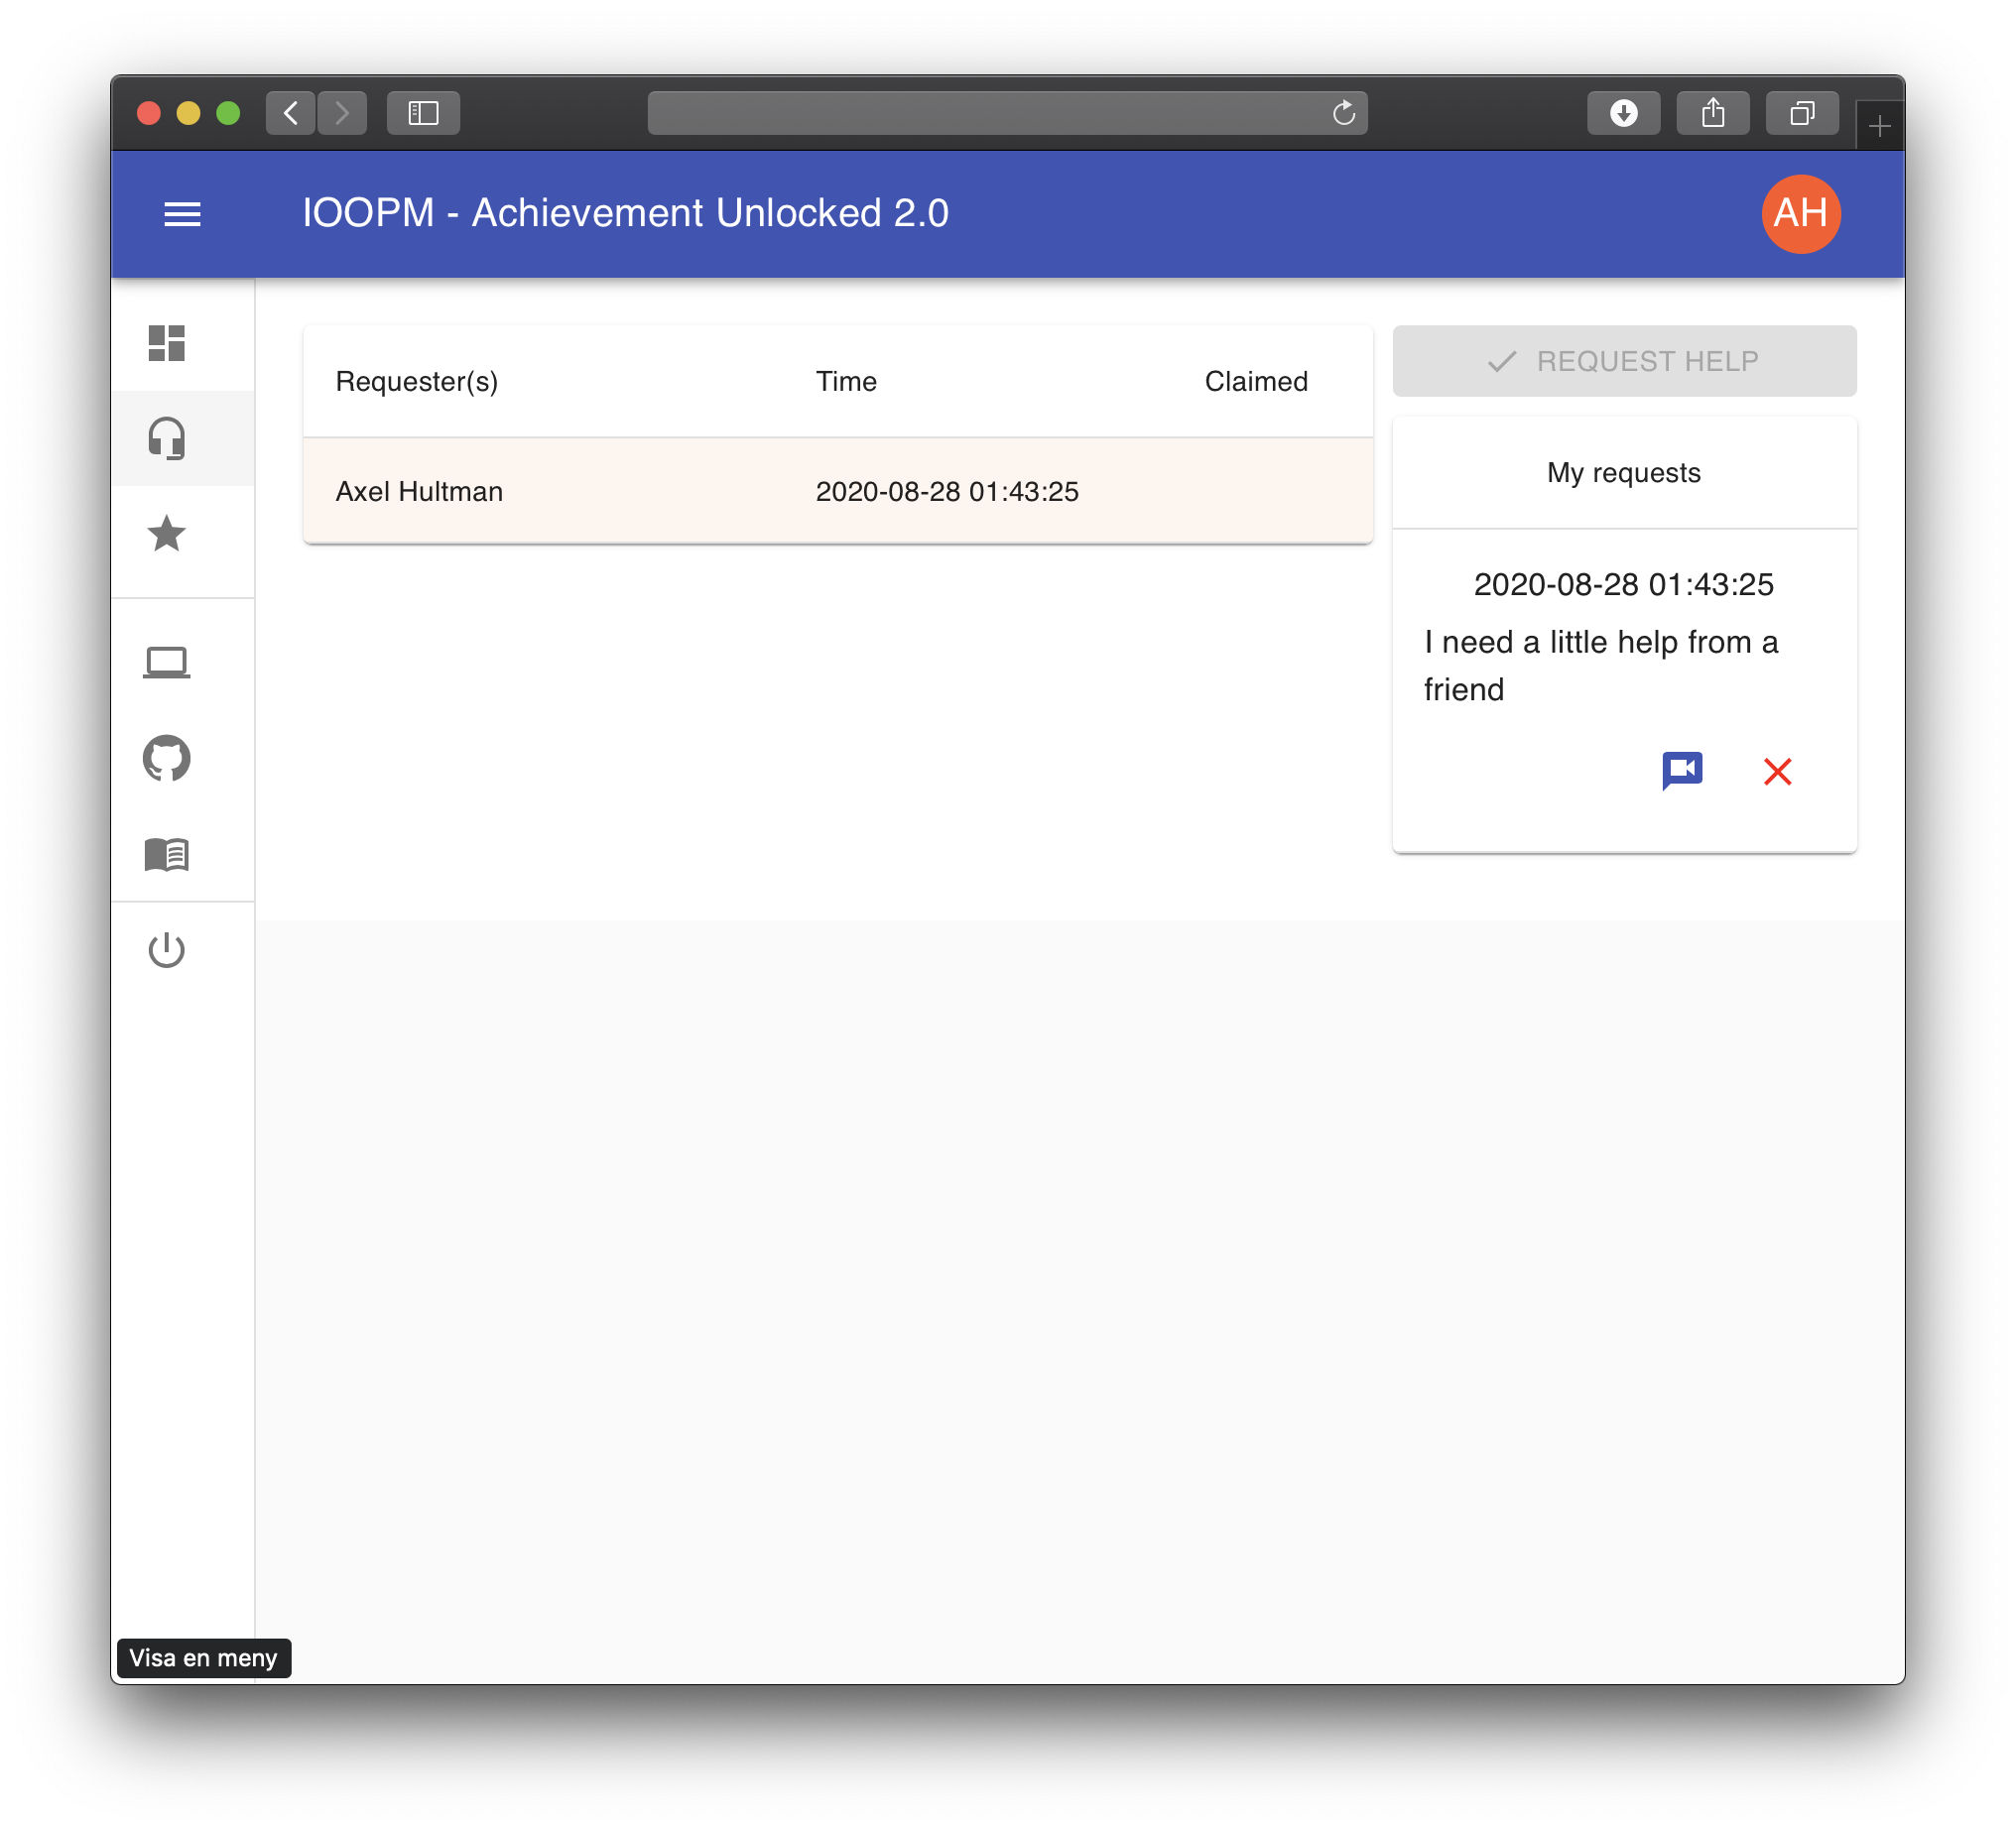
Figure 4: Help request page
1.4 Requesting a Demonstration
Requesting a demonstration is very similar to requesting help. List the partner you will be demonstrating with. Pick the achievements you want to demonstrate.
Read more about the non-technical aspects of demonstrations here.
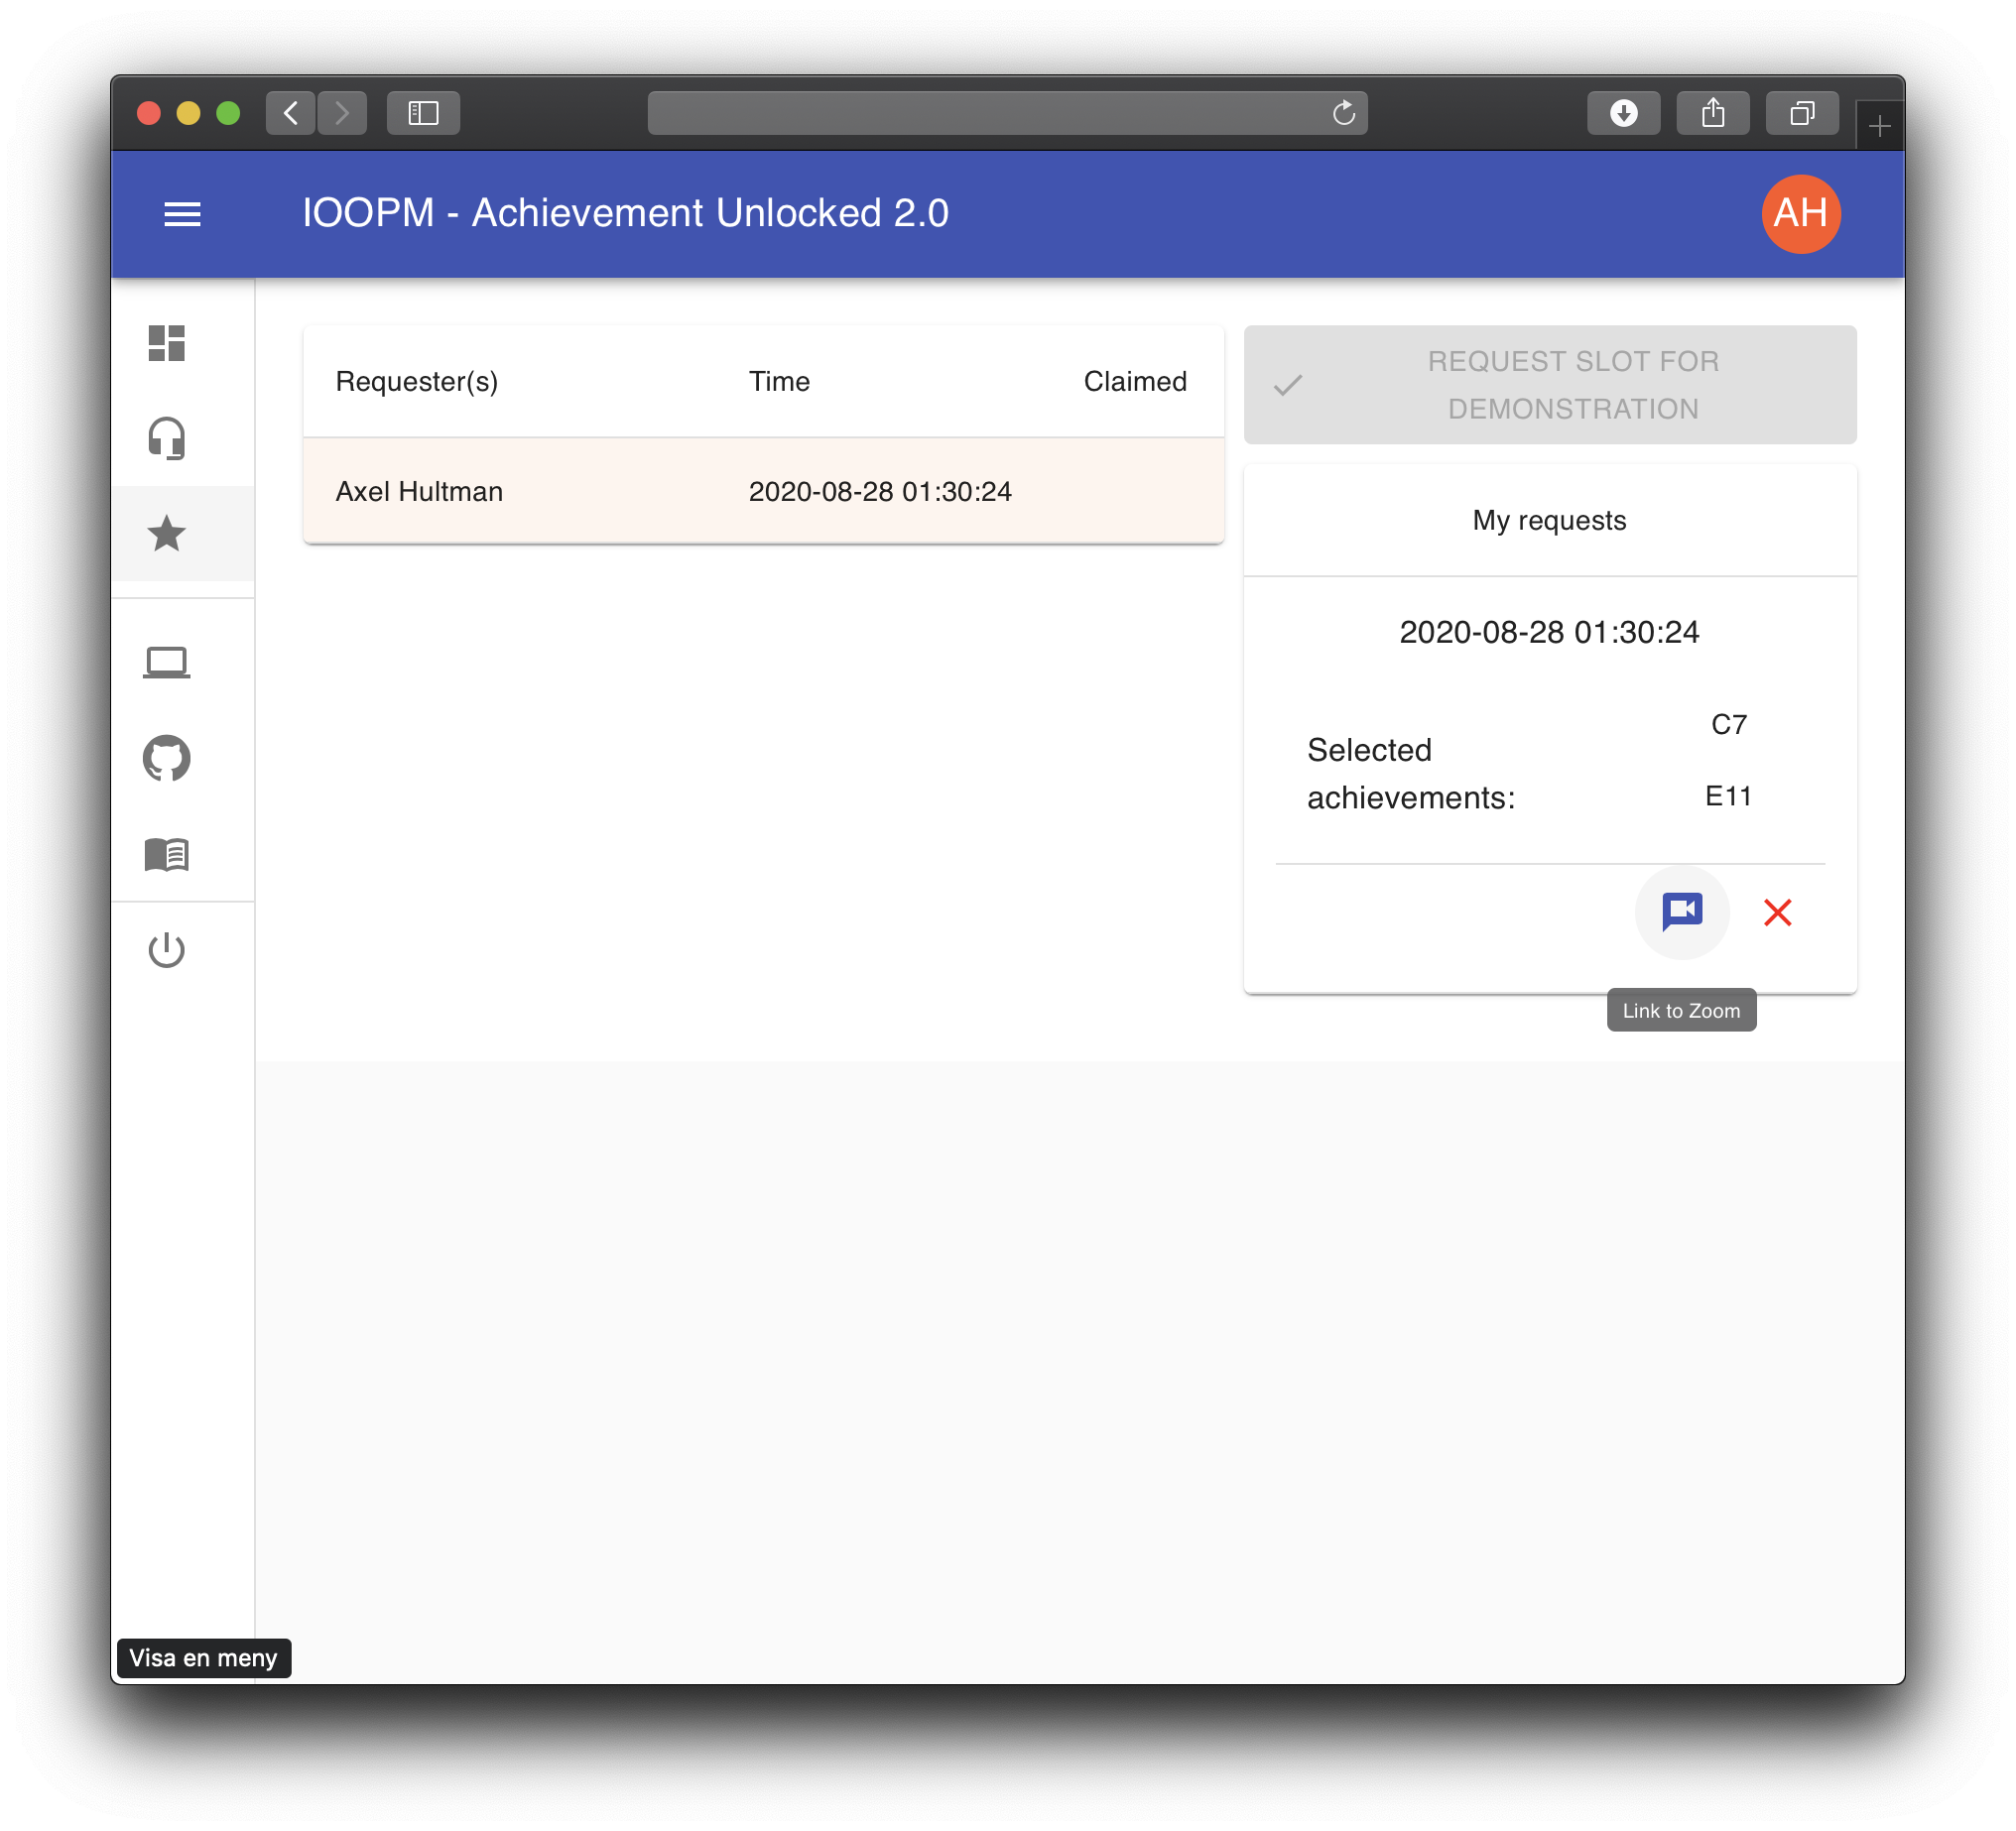
Figure 5: Demonstrations page
1.5 Exploring Your Progress
In the dashboard, we show the number of achievements remaining to finish the course with the current target grade, some information about your current and average velocity, and the target grade. The burndown visualises this. We also show the achievements remaining in a list, which is clickable such that it takes you to the descriptions of the achievements.
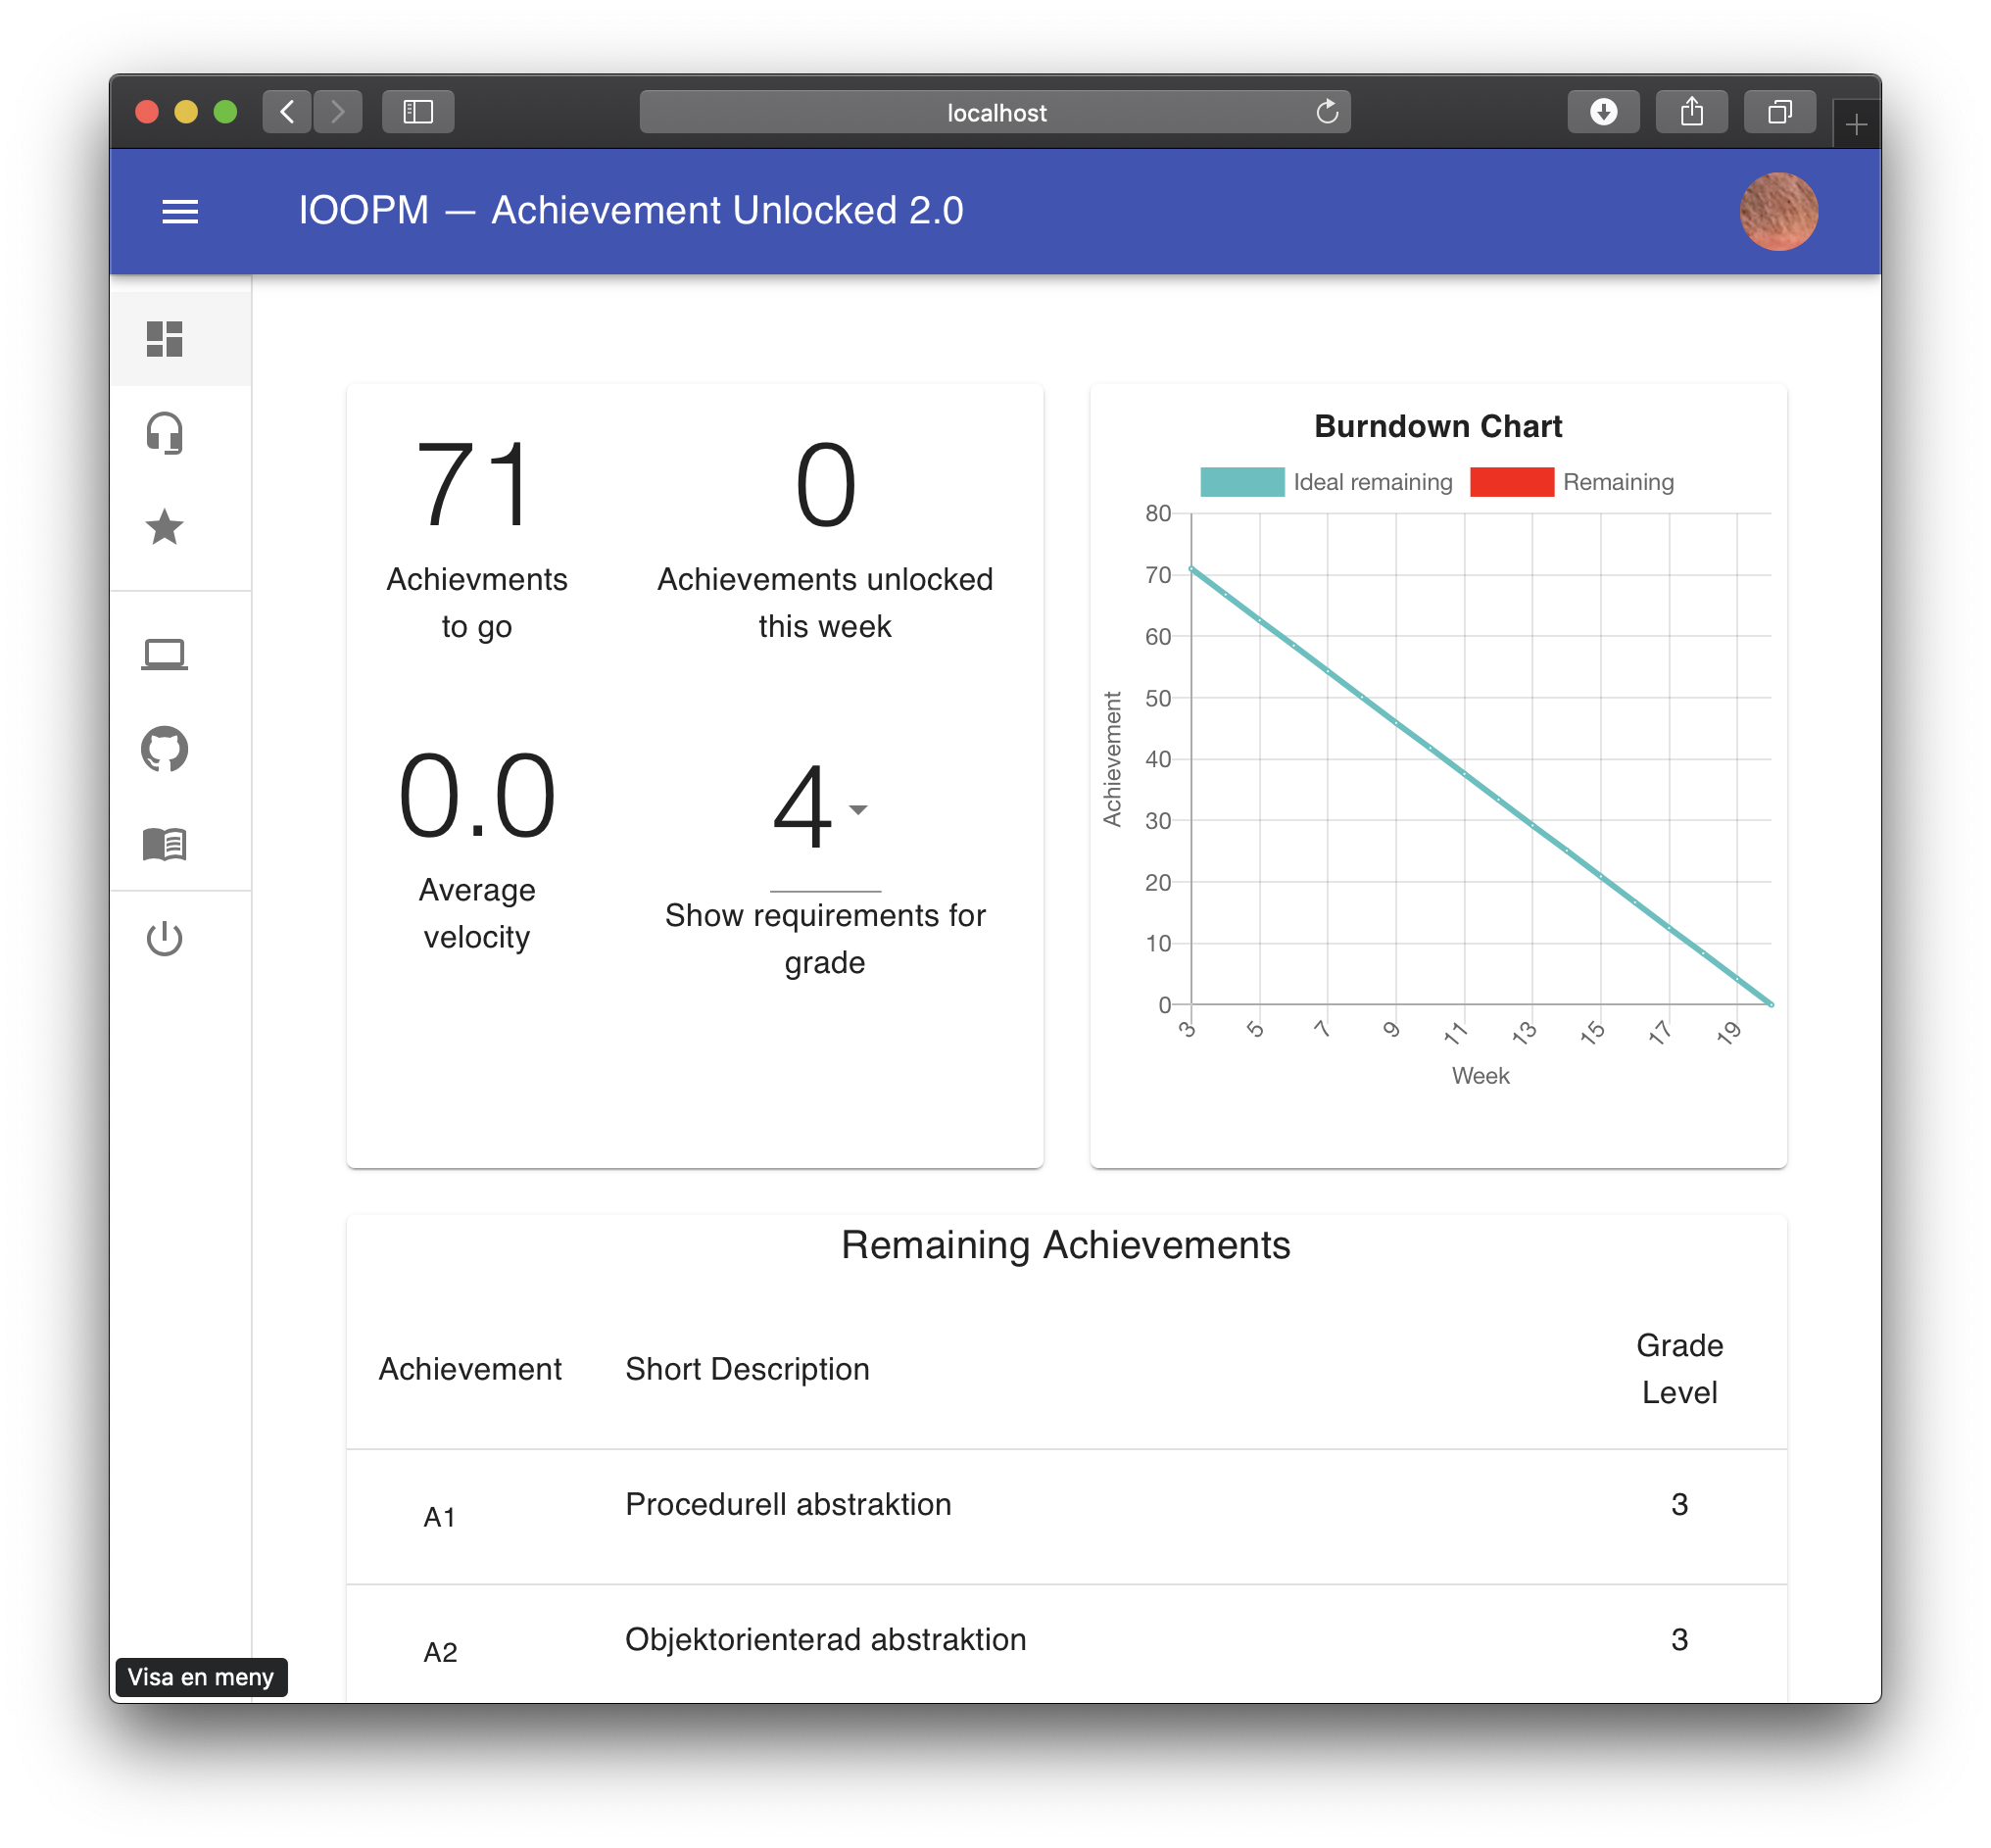
Figure 6: Dashboard with burndown chart
1.6 Code Space
In the code space tab (computer icon) we have collected all your login information to set up and access Cloud 9. Click on the computer icon and then the pink button to get information about how to setup.
1.7 Link to GitHub
The first time you click the GitHub icon, the AU portal will request to read the public information from your GitHub account. You will need to allow this to continue. The only information that we want is the name of your GitHub account. Once you have allowed us to access this name, we send an invite to you to join the IOOPM-UU organisation on GitHub and link your account to the private repository where you are required to host your code during this course.
These steps are all automated, and may take up to a 1 minute to
complete. Move the mouse over the GitHub icon to see when the help
text changes from “link to GitHub” to a name of your GitHub repo
(first.last.1234). Once that is done, you can click the link and
get to your repo.
2 Join the Fun!
Most of this code has been contributed by people working pro bono – because it is fun to develop things and provide services to others. We will try to provide some starter bugs and low hanging fruits to get going.
Once the new system is stable enough, the code will be made public on GitHub here: https://github.com/IOOPM-UU/auportal2020/
3 Living With Shaky Software
The new AU Portal is an infant. It will contain bugs. It will go down. It will do stupid things.
What it will not do is lose data. And even if it does, that is frequently backed up and moved away from the server elsewhere.
4 TODO Technological Choices
4.1 TODO Frontend: React
4.2 TODO Backend: Spring
Questions about stuff on these pages? Use our Piazza forum.
Want to report a bug? Please place an issue here. Pull requests are graciously accepted (hint, hint).
Nerd fact: These pages are generated using org-mode in Emacs, a modified ReadTheOrg template, and a bunch of scripts.
Ended up here randomly? These are the pages for a one-semester course at 67% speed on imperative and object-oriented programming at the department of Information Technology at Uppsala University, created by Tobias Wrigstad.